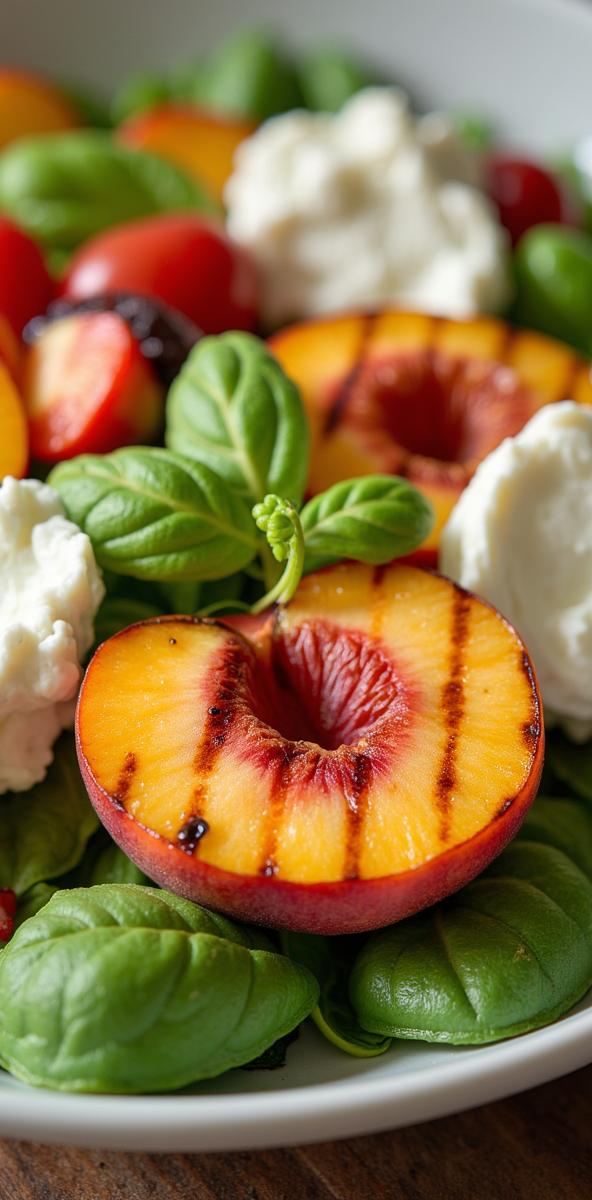
There’s something magical about the combination of warm, caramelized peaches and creamy burrata cheese that makes this Grilled Peach and Burrata Salad an absolute showstopper. I’ve found that this recipe strikes the perfect balance between sweet and savory, making it ideal for summer entertaining or a light main course. The contrast of temperatures and textures creates an unforgettable dining experience that’s surprisingly simple to prepare.
Ingredients
- 4 ripe but firm peaches, halved and pitted
- 2 balls of fresh burrata (8 oz total)
- 4 cups fresh arugula
- 1/4 cup honey
- 2 tablespoons balsamic glaze
- 3 tablespoons extra virgin olive oil
- 1/4 cup toasted pistachios, roughly chopped
- Fresh basil leaves
- Salt and freshly ground black pepper to taste
Instructions
- Preheat your grill to medium-high heat (around 400°F).
- Brush the cut side of peaches with 1 tablespoon of olive oil and season with a pinch of salt.
- Place peaches cut-side down on the grill and cook for 4-5 minutes until grill marks appear and peaches are slightly softened.
- While peaches are grilling, toss arugula with remaining olive oil and a pinch of salt and pepper.
- Arrange dressed arugula on a serving platter.
- Once peaches are grilled, arrange them on top of the arugula.
- Tear the burrata into chunks and place them between the peaches.
- Drizzle with honey and balsamic glaze.
- Sprinkle with chopped pistachios and torn basil leaves.
- Finish with a final crack of black pepper.
Cook Time and Serving Size
Prep Time: 10 minutes
Cook Time: 5 minutes
Total Time: 15 minutes
Serves: 4-6 people
Recipe Notes
When selecting peaches, choose ones that are ripe but still firm – they’ll hold up better on the grill. If peaches aren’t in season, you can substitute with nectarines or plums. For the best flavor, bring your burrata to room temperature about 30 minutes before serving.
Don’t have a grill? You can achieve similar results using a grill pan on your stovetop. Just make sure it’s well-heated before adding the peaches. The key to those beautiful grill marks is not moving the peaches around once they’re placed on the grill.
This salad is best served immediately while the contrast between the warm peaches and cool burrata is at its peak. If you need to prep ahead, you can grill the peaches and store them at room temperature for up to 2 hours, then assemble the salad just before serving.
Grilled Peach and Burrata Salad
Ingredients
- 4 ripe but firm peaches halved and pitted
- 2 balls of fresh burrata 8 oz total
- 4 cups fresh arugula
- 1/4 cup honey
- 2 tablespoons balsamic glaze
- 3 tablespoons extra virgin olive oil
- 1/4 cup toasted pistachios roughly chopped
- Fresh basil leaves
- Salt and freshly ground black pepper to taste
Instructions
- Preheat your grill to medium-high heat (around 400°F).
- Brush the cut side of peaches with 1 tablespoon of olive oil and season with a pinch of salt.
- Place peaches cut-side down on the grill and cook for 4-5 minutes until grill marks appear and peaches are slightly softened.
- While peaches are grilling, toss arugula with remaining olive oil and a pinch of salt and pepper.
- Arrange dressed arugula on a serving platter.
- Once peaches are grilled, arrange them on top of the arugula.
- Tear the burrata into chunks and place them between the peaches.
- Drizzle with honey and balsamic glaze.
- Sprinkle with chopped pistachios and torn basil leaves.
- Finish with a final crack of black pepper.