Welcome to my kitchen! Today, we’re going to bake something truly special and wonderfully light: a Chiffon Cake. If you’ve ever dreamed of a cake that’s both fluffy and flavorful, you’ve come to the right place. This recipe is my go-to for a dessert that’s guaranteed to impress, but is surprisingly simple to make at home. Let me walk you through each step so you can create your own perfect Chiffon Cake.
Why You Will Love This Recipe
This isn’t just any cake; it’s a Chiffon Cake, and that means it’s incredibly light and airy, almost like eating a cloud! What makes this recipe so special is the perfect balance of richness and lightness. We’re using oil for moisture and egg yolks for a tender crumb, but then we whip egg whites to sky-high peaks to give it that signature chiffon texture. It’s not overly sweet, which means the delicate flavors really shine through. Plus, it’s a showstopper! Imagine presenting this tall, elegant cake to your friends and family. They’ll be amazed you made it from scratch, and you’ll love how easy it is to achieve bakery-level results in your own kitchen.
Ingredients
Here’s everything you’ll need to bake this amazing cake:
- 2 cups cake flour
- 1 ½ cups granulated sugar, divided
- 1 tablespoon baking powder
- ½ teaspoon salt
- ½ cup vegetable oil
- 7 large egg yolks
- ¾ cup cold water
- 1 tablespoon vanilla extract
- 7 large egg whites
- ¼ teaspoon cream of tartar
Step-by-Step Instructions
1. Get Ready to Bake
First things first, let’s preheat your oven to 325°F (160°C). Make sure your oven rack is in the center. We also need to prepare our special chiffon cake pan. Don’t grease it! A chiffon cake needs to cling to the sides of the pan as it rises, so a clean, ungreased pan is key. If your pan has a removable bottom, make sure it’s securely in place.
2. Mix the Dry Ingredients
In a large bowl, whisk together the cake flour, 1 cup of the granulated sugar, baking powder, and salt. Whisking helps to evenly distribute everything and get rid of any lumps.
3. Combine the Wet Ingredients
In a separate large bowl, whisk together the vegetable oil, egg yolks, cold water, and vanilla extract. Mix these until they are just combined and look smooth.
4. Make the Batter
Gradually add the wet ingredients to the dry ingredients. Mix on low speed with an electric mixer or whisk gently until just combined. Don’t overmix at this stage; we just want everything to come together.
5. Whip the Egg Whites
Now for the magic! In a clean, grease-free bowl, beat the egg whites with an electric mixer until foamy. Add the cream of tartar. This helps stabilize the egg whites. Continue beating, gradually adding the remaining ½ cup of granulated sugar, until stiff, glossy peaks form. You’ll know they are ready when you lift the beaters, and the peaks stand straight up without drooping. Be careful not to overwhip!
6. Gently Fold in the Egg Whites
This is important for keeping our cake light and airy. Take about one-third of the beaten egg whites and gently fold them into the yolk batter. This lightens the batter and makes it easier to incorporate the rest of the whites. Then, gently fold in the remaining egg whites in two additions, until just combined. Be careful not to deflate the egg whites; fold until you no longer see streaks of white, but don’t overmix.
7. Pour into the Pan and Bake
Pour the batter into your ungreased chiffon cake pan. Do not fill the pan more than ¾ full to allow room for rising. Bake in the preheated oven for 50-60 minutes, or until a toothpick inserted into the center comes out clean. The top should be golden brown and spring back lightly when touched.
8. Cool Upside Down
As soon as you take the cake out of the oven, immediately invert the pan. Most chiffon cake pans have little “feet” or a neck to allow you to invert them over a bottle or another pan. If yours doesn’t, you can carefully balance it upside down using a wire rack. Let the cake cool completely upside down in the pan for at least one hour, or even better, two hours. This prevents the cake from collapsing and keeps it light and airy.
9. Release the Cake
Once the cake is completely cool, run a thin knife or spatula around the edges of the pan to loosen the cake. If your pan has a removable bottom, gently push upwards to release the cake. If not, carefully invert the cake onto a serving plate.
Serving Suggestions
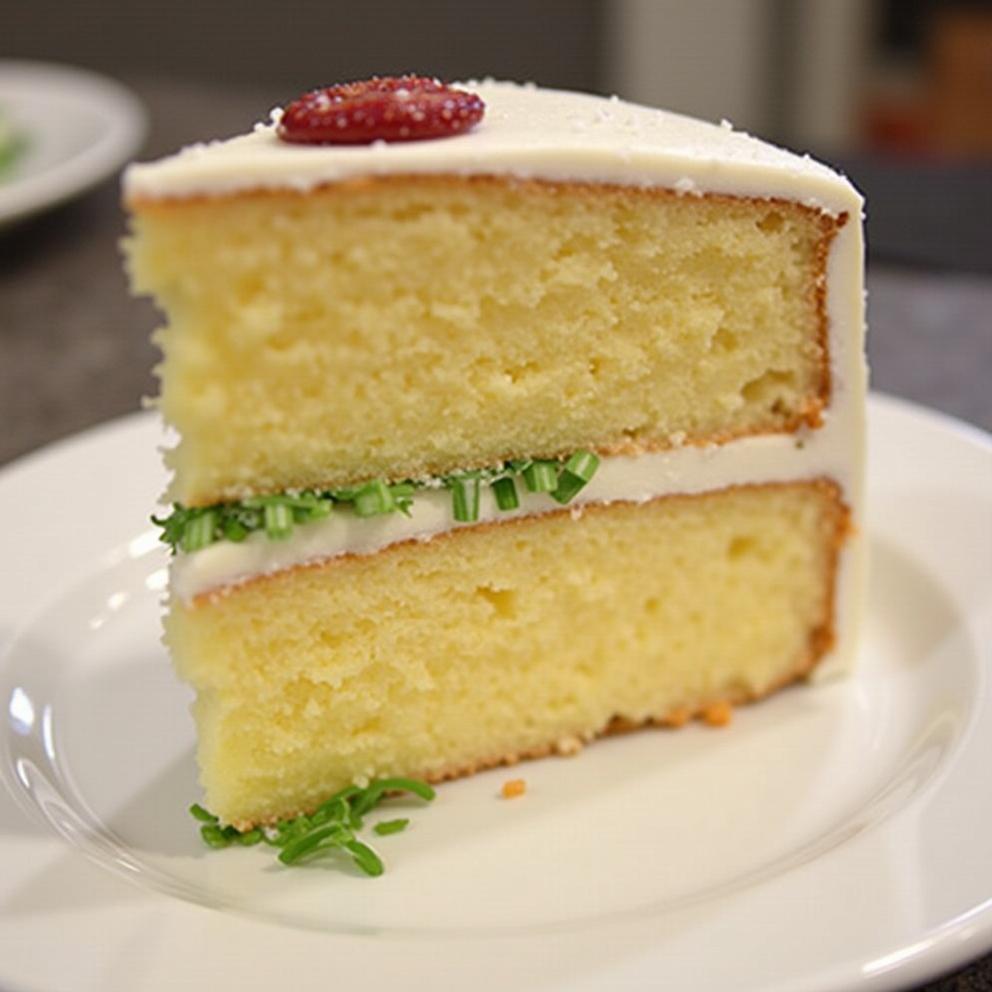
This lovely Chiffon Cake is fantastic all on its own, showcasing its delicate flavor and airy texture. For a simple and elegant touch, you can dust the top with powdered sugar just before serving. It pairs beautifully with fresh berries like strawberries, raspberries, or blueberries. A light whipped cream or a dollop of yogurt can also complement it wonderfully without overpowering the cake’s subtle taste.
For a slightly richer treat, consider serving slices of Chiffon Cake with a light citrus glaze made with lemon or orange juice and powdered sugar. It’s also delicious with a side of fruit compote or a scoop of vanilla ice cream.
Chiffon Cake is perfect for afternoon tea, light desserts after dinner, birthday celebrations, or any special occasion where you want to serve something a little bit special but not too heavy. Its elegant appearance makes it a wonderful centerpiece for any table.
Storage and Reheating
To keep your Chiffon Cake fresh, store it at room temperature in an airtight container for up to 3 days. Because of its delicate texture, it’s best to handle it gently when storing. You can also store it in the refrigerator for up to 5 days, but it might lose a bit of its softness. Make sure it’s well-covered in the fridge.
Chiffon Cake is best enjoyed at room temperature, so there’s really no need to reheat it. If it has been refrigerated, simply let it sit at room temperature for about 30 minutes before serving to allow it to soften up a bit. Avoid microwaving or oven reheating as it can dry out the cake.
Key Details
Prep time: 30 minutes
Cook time: 50-60 minutes
Total time: 1 hour 20 minutes – 1 hour 30 minutes
Servings: 12 slices
Equipment:
- Large mixing bowls
- Electric mixer (hand or stand mixer)
- Whisk
- Spatula
- 10-inch Chiffon Cake pan (ungreased)
- Measuring cups and spoons
- Toothpick
Chiffon Cake
Ingredients
- 2 cups cake flour
- 1 ½ cups granulated sugar divided
- 1 tablespoon baking powder
- ½ teaspoon salt
- ½ cup vegetable oil
- 7 large egg yolks
- ¾ cup cold water
- 1 tablespoon vanilla extract
- 7 large egg whites
- ¼ teaspoon cream of tartar
Instructions
- Preheat your oven to 325°F (160°C). Ensure your oven rack is in the center. Prepare a chiffon cake pan, ungreased.
- In a large bowl, whisk together the cake flour, 1 cup of the granulated sugar, baking powder, and salt.
- In a separate large bowl, whisk together the vegetable oil, egg yolks, cold water, and vanilla extract until smooth.
- Gradually add the wet ingredients to the dry ingredients. Mix on low speed or whisk gently until just combined.
- In a clean, grease-free bowl, beat the egg whites until foamy. Add cream of tartar and continue beating, gradually adding the remaining ½ cup of sugar, until stiff, glossy peaks form.
- Gently fold about one-third of the beaten egg whites into the yolk batter to lighten it.
- Gently fold in the remaining egg whites in two additions until just combined. Be careful not to deflate the egg whites.
- Pour the batter into the ungreased chiffon cake pan, not more than ¾ full.
- Bake in the preheated oven for 50-60 minutes, or until a toothpick inserted into the center comes out clean.
- Immediately invert the pan and cool completely upside down for at least one to two hours.
- Once cooled, run a thin knife or spatula around the edges to loosen the cake. Release and invert onto a serving plate.