Cut-out sugar cookies are one of my absolute favorite things to bake, especially around the holidays or for special occasions. There’s just something magical about transforming simple ingredients into adorable, delicious shapes.
These cookies are perfect for everything from Valentine’s Day to Christmas, birthdays, or just a fun weekend baking project.
What I love most is how versatile they are. You can customize them with any cookie cutters you have, and the decorating possibilities are endless!
Homemade Cut Out Sugar Cookies Overview
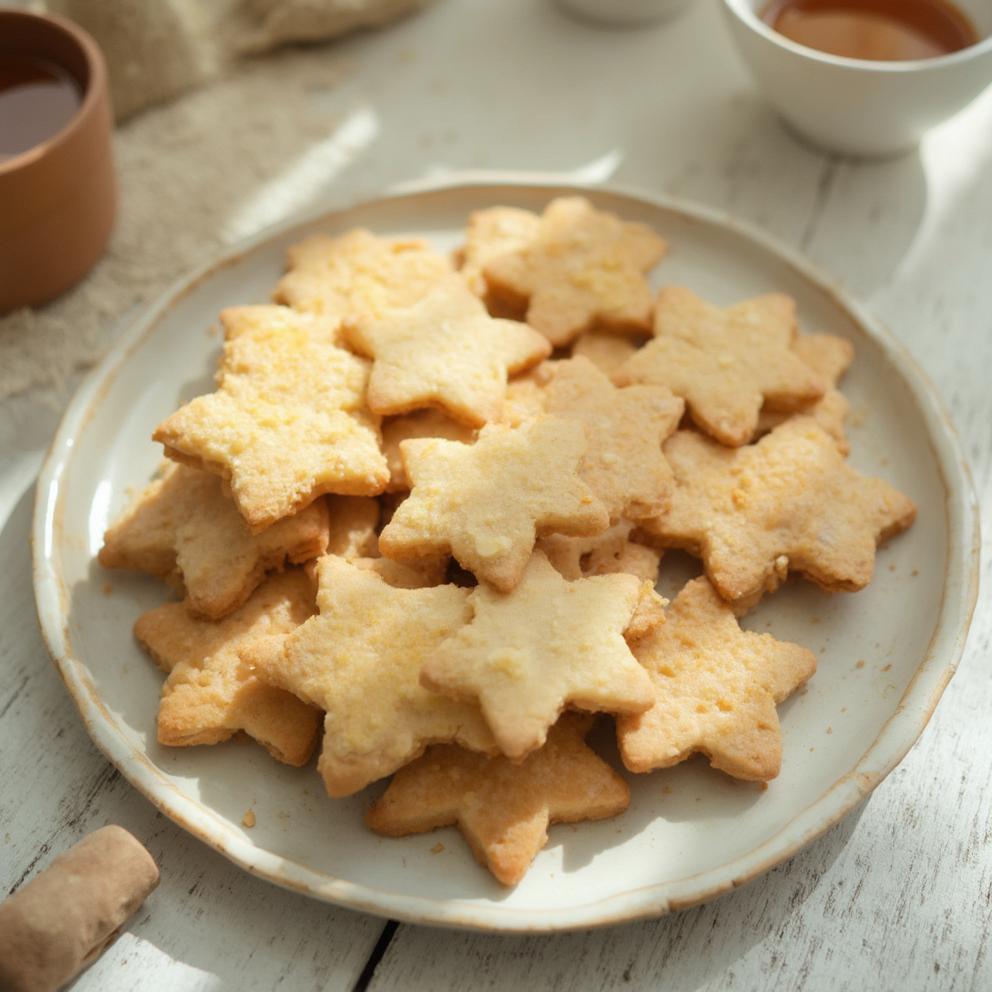
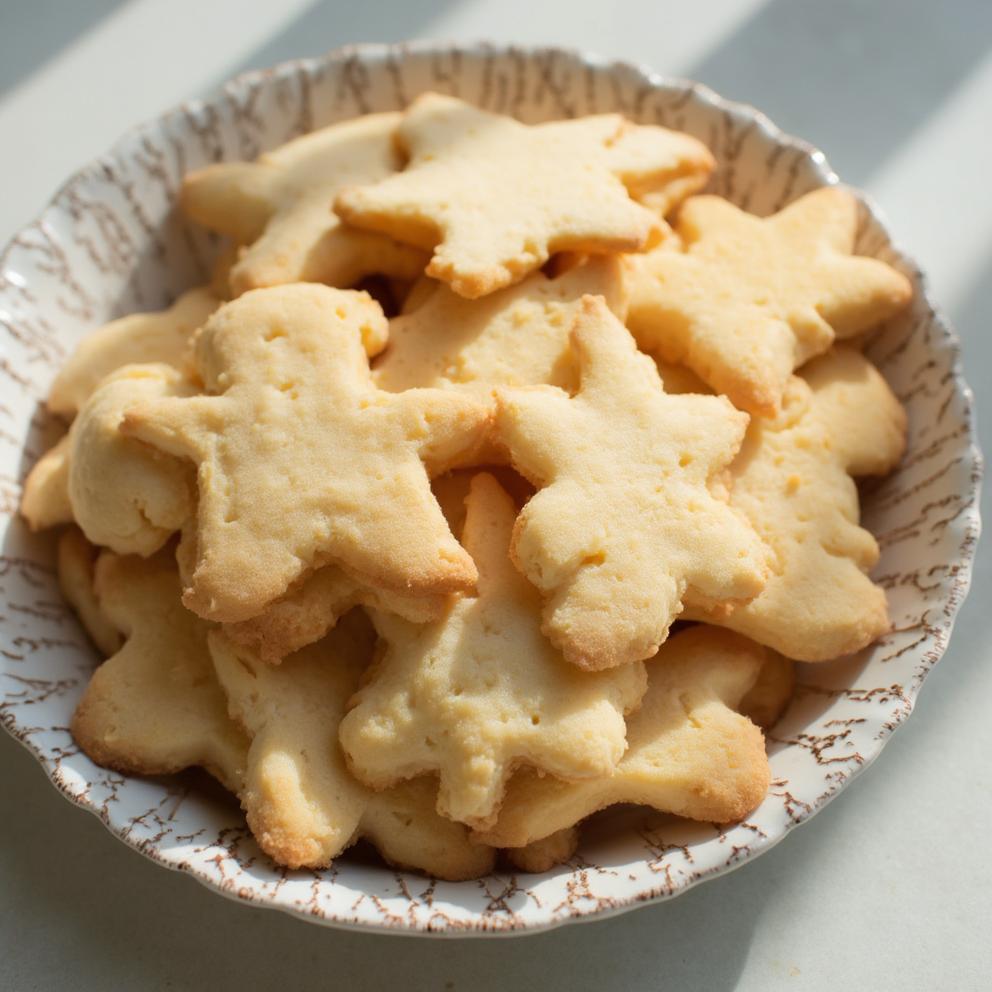
These homemade sugar cookies are the real deal. They have a wonderfully soft, melt-in-your-mouth texture with a slightly crisp edge. The flavor is classic: buttery and sweet, with a hint of vanilla.
They hold their shape beautifully during baking, which is crucial for those intricate designs.
These aren’t just for show, though. They genuinely taste amazing.
I love serving these at parties, gifting them to friends, or just enjoying them with a cup of tea.
They’re always a crowd-pleaser, and they make any occasion feel a little more festive.
Ingredients for the Best Sugar Cookies
Here’s what you’ll need to make these delightful cookies:
- 3 cups (375g) all-purpose flour: I usually use unbleached all-purpose flour, but you can also use bleached. Just be sure to measure it correctly – fluff the flour in the container, spoon it into your measuring cup, and level it off with a knife.
- 1 teaspoon baking powder: This gives the cookies a little lift and helps them stay soft.
- 1/2 teaspoon salt: Enhances the sweetness and balances the flavors.
- 1 cup (226g) unsalted butter, softened: Make sure your butter is truly softened, but not melted. This is key for proper creaming. I like to leave mine out on the counter for about an hour.
- 1 cup (200g) granulated sugar: Provides the perfect amount of sweetness.
- 1 large egg, room temperature: Room temperature eggs incorporate better into the batter.
- 2 teaspoons pure vanilla extract: Use a good quality vanilla extract for the best flavor. You could also experiment with almond extract or a combination of both.
- Optional: Powdered sugar (for rolling): Some people prefer to roll their dough on powdered sugar instead of flour to keep the cookies extra tender.
- For Decorating: Royal icing, buttercream frosting, sprinkles, sanding sugar, or other edible decorations.
Step-by-Step Instructions for Cut Out Sugar Cookies
- Whisk Dry Ingredients: In a medium bowl, whisk together the flour, baking powder, and salt. This ensures everything is evenly distributed. Set this aside for now.
- Cream Butter and Sugar: In a large bowl (or the bowl of your stand mixer), beat the softened butter with the granulated sugar until it’s light and fluffy. This usually takes about 2-3 minutes. You want it to be noticeably lighter in color. Don’t rush this step! It’s important for the texture of the cookies.
- Add Egg and Vanilla: Beat in the room temperature egg until it’s fully incorporated, then add the vanilla extract and mix well. Scrape down the sides of the bowl with a spatula as needed to make sure everything is combined.
- Gradually Add Dry Ingredients: Slowly add the dry ingredients to the wet ingredients, mixing on low speed until just combined. Be careful not to overmix at this stage, or your cookies could become tough. The dough might look a little crumbly at first, but it should come together.
- Divide and Chill Dough: Divide the dough in half, flatten each half into a disc, and wrap each disc tightly in plastic wrap. Refrigerate for at least 2 hours, or even overnight. This chilling step is essential! It prevents the cookies from spreading too much during baking and makes the dough much easier to roll out.
- Preheat and Prep Baking Sheets: Preheat your oven to 375°F (190°C). Line your baking sheets with parchment paper. Parchment paper prevents sticking and makes cleanup a breeze.
- Roll Out Dough: Lightly flour your work surface (or sprinkle with powdered sugar if you prefer). Unwrap one disc of chilled dough and place it on the floured surface. Lightly flour the top of the dough and your rolling pin. Roll the dough to about 1/4-inch thickness. If the dough starts to stick, add a little more flour.
- Cut Out Shapes: Use your favorite cookie cutters to cut out shapes. Dip the cookie cutters in flour to prevent sticking. Re-roll any scraps of dough and continue cutting until you’ve used it all up.
- Bake: Carefully transfer the cut-out cookies to your prepared baking sheets, leaving a little space between each cookie. Bake for 8-10 minutes, or until the edges are lightly golden brown. The baking time may vary slightly depending on your oven and the size of your cookies. Keep a close eye on them!
- Cool: Let the cookies cool on the baking sheets for a few minutes before transferring them to a wire rack to cool completely. They need to be completely cool before you decorate them.
Variations & Tips for Perfect Sugar Cookies
- Flavor Variations: Try adding a teaspoon of lemon zest, orange zest, or even a pinch of cinnamon to the dough for a different flavor.
- Make-Ahead: You can make the dough up to 3 days in advance and store it tightly wrapped in the refrigerator. You can also freeze the unbaked, cut-out cookies for up to 2 months. Just arrange them in a single layer on a baking sheet, freeze until solid, then transfer to a freezer bag. Bake them straight from frozen, adding a minute or two to the baking time.
- Storage: Store the baked, undecorated cookies in an airtight container at room temperature for up to a week. If you’ve decorated them, store them in a single layer to prevent the decorations from getting smudged.
- Reheating: These cookies don’t really need to be reheated, but if you want to enjoy them warm, you can microwave them for a few seconds.
- Decorating: Get creative with your decorations. Use royal icing for detailed designs, or buttercream frosting for a simpler, softer look. Sprinkles, sanding sugar, and edible glitter are all great options!
Key Details
- Prep time: 30 minutes (plus at least 2 hours chilling time)
- Cook time: 8-10 minutes
- Total time: 3 hours (including chilling time)
- Servings: Approximately 24-36 cookies (depending on the size of your cookie cutters)
- Equipment you’ll need: Mixing bowls, measuring cups and spoons, electric mixer (handheld or stand mixer), rolling pin, cookie cutters, baking sheets, parchment paper, wire rack.
Homemade Cut Out Sugar Cookies
Ingredients
- 3 cups 375g all-purpose flour
- 1 teaspoon baking powder
- 1/2 teaspoon salt
- 1 cup 226g unsalted butter, softened
- 1 cup 200g granulated sugar
- 1 large egg room temperature
- 2 teaspoons pure vanilla extract
- Optional: Powdered sugar for rolling
- Royal icing buttercream frosting, sprinkles, sanding sugar, or other edible decorations
Instructions
- Whisk Dry Ingredients: In a medium bowl, whisk together the flour, baking powder, and salt. This ensures everything is evenly distributed. Set this aside for now.
- Cream Butter and Sugar: In a large bowl (or the bowl of your stand mixer), beat the softened butter with the granulated sugar until it's light and fluffy. This usually takes about 2-3 minutes. You want it to be noticeably lighter in color. Don't rush this step! It's important for the texture of the cookies.
- Add Egg and Vanilla: Beat in the room temperature egg until it's fully incorporated, then add the vanilla extract and mix well. Scrape down the sides of the bowl with a spatula as needed to make sure everything is combined.
- Gradually Add Dry Ingredients: Slowly add the dry ingredients to the wet ingredients, mixing on low speed until just combined. Be careful not to overmix at this stage, or your cookies could become tough. The dough might look a little crumbly at first, but it should come together.
- Divide and Chill Dough: Divide the dough in half, flatten each half into a disc, and wrap each disc tightly in plastic wrap. Refrigerate for at least 2 hours, or even overnight. This chilling step is essential! It prevents the cookies from spreading too much during baking and makes the dough much easier to roll out.
- Preheat and Prep Baking Sheets: Preheat your oven to 375°F (190°C). Line your baking sheets with parchment paper. Parchment paper prevents sticking and makes cleanup a breeze.
- Roll Out Dough: Lightly flour your work surface (or sprinkle with powdered sugar if you prefer). Unwrap one disc of chilled dough and place it on the floured surface. Lightly flour the top of the dough and your rolling pin. Roll the dough to about 1/4-inch thickness. If the dough starts to stick, add a little more flour.
- Cut Out Shapes: Use your favorite cookie cutters to cut out shapes. Dip the cookie cutters in flour to prevent sticking. Re-roll any scraps of dough and continue cutting until you've used it all up.
- Bake: Carefully transfer the cut-out cookies to your prepared baking sheets, leaving a little space between each cookie. Bake for 8-10 minutes, or until the edges are lightly golden brown. The baking time may vary slightly depending on your oven and the size of your cookies. Keep a close eye on them!
- Cool: Let the cookies cool on the baking sheets for a few minutes before transferring them to a wire rack to cool completely. They need to be completely cool before you decorate them.