Hello there, baking buddies! Ready for a treat that’s both beautiful and delicious? Today, I’m so excited to share my recipe for Japanese Raspberry Cake with you. This cake is seriously special, and I can’t wait to show you how easy it is to bake up a slice of happiness right in your own kitchen.
Why You Will Love This Recipe
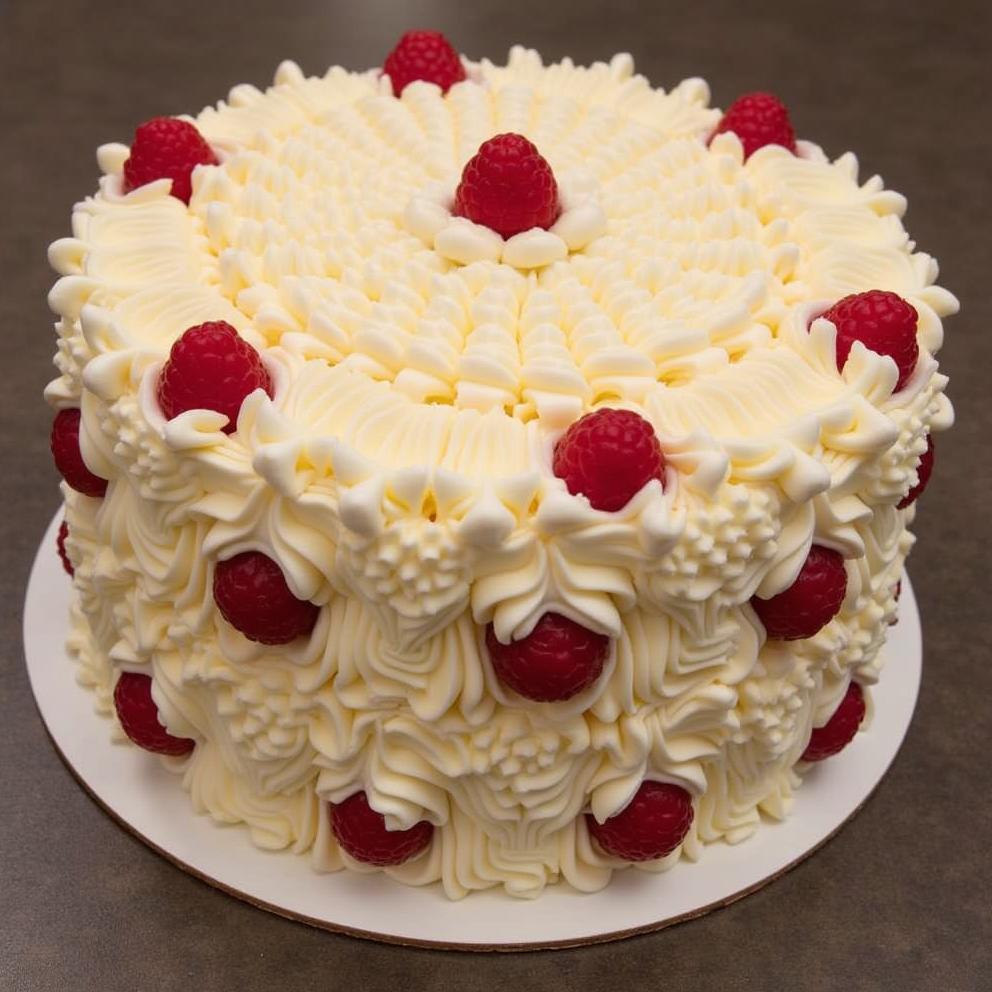
This Japanese Raspberry Cake is more than just your average cake – it’s a delightful experience from the first bite to the last. What makes it so amazing? First off, it’s incredibly moist and tender, thanks to a simple yet perfect blend of ingredients. The fresh raspberries burst with juicy sweetness, giving each slice a lovely fruity flavor that’s not too overpowering. It’s also wonderfully light and airy, making it a perfect dessert even after a big meal. Plus, the vibrant pink raspberries scattered throughout make it a truly pretty cake to serve. Whether you’re baking for a special occasion or just want a delicious homemade treat, this raspberry cake is guaranteed to become a new favorite.
Ingredients
Here’s everything you’ll need to bake your own Japanese Raspberry Cake. Make sure you have these ready before we get started!
- 2 cups all-purpose flour
- 1 ½ cups granulated sugar
- 3 teaspoons baking powder
- ½ teaspoon salt
- ¾ cup milk
- ½ cup vegetable oil
- 2 large eggs
- 1 teaspoon vanilla extract
- 1 ½ cups fresh raspberries
Step-by-Step Instructions
Let’s get baking! Follow these simple steps, and you’ll have a delicious Japanese Raspberry Cake in no time.
1. Get Ready to Bake
First things first, let’s preheat your oven to 350°F (175°C). Grab a 9×13 inch baking pan and grease it well. You can use butter, cooking spray, or even line it with parchment paper for easy cleanup. Getting this done at the start means your oven will be ready when your batter is!
2. Mix the Dry Ingredients
In a large bowl, whisk together the flour, sugar, baking powder, and salt. Whisking helps to evenly distribute the baking powder and salt throughout the flour, which is important for the cake’s texture. Make sure there are no big lumps of baking powder hiding in there!
3. Combine the Wet Ingredients
In a separate bowl, mix together the milk, vegetable oil, eggs, and vanilla extract. Whisk these wet ingredients until they are just combined. You don’t need to overmix at this stage, just make sure everything is nicely blended together.
4. Mix Wet and Dry Together
Now, pour the wet ingredients into the bowl with the dry ingredients. Gently stir everything together with a spoon or spatula until just combined. Be careful not to overmix the batter! Overmixing can make your cake tough. You want to mix until you no longer see streaks of flour, but stop there.
5. Add the Raspberries
Gently fold in the fresh raspberries. “Folding” means to gently mix them in without crushing them. Use a spatula and gently turn the batter over to incorporate the raspberries. We want to keep the raspberries whole and juicy, not mushy!
6. Bake Your Cake
Pour the batter into your prepared baking pan and spread it out evenly. Bake in the preheated oven for 30-35 minutes. To check if it’s done, insert a toothpick into the center of the cake. If the toothpick comes out clean, or with just a few moist crumbs, your cake is ready! If it comes out with wet batter, bake for a few more minutes and check again.
7. Cool and Enjoy
Let the cake cool in the pan for about 10-15 minutes before you try to move it. Then, carefully transfer the cake to a wire rack to cool completely. Cooling it on a rack helps prevent the bottom from getting soggy. Once it’s cooled, it’s ready to slice and enjoy!
Serving Suggestions
This Japanese Raspberry Cake is wonderful all on its own, but here are a few ideas to make it even more special. For a simple touch, dust the top with powdered sugar right before serving – it adds a sweet touch and makes it look extra pretty. It pairs perfectly with a cup of hot tea or coffee for a cozy afternoon treat. If you want to dress it up a bit, try serving it with a dollop of whipped cream or a scoop of vanilla ice cream. This cake is perfect for so many occasions! Bring it to a potluck, serve it for dessert after dinner, or enjoy a slice for brunch with friends. It’s a crowd-pleaser every time.
Storage and Reheating
If you happen to have any leftover Japanese Raspberry Cake (though it’s so good, it might not last long!), you can easily store it. To keep it fresh, store it in an airtight container at room temperature for up to 2-3 days. If you want to keep it longer, you can store it in the refrigerator for up to 5 days. Just be sure to bring it back to room temperature before serving for the best flavor and texture. If you want to warm up a slice, you can gently reheat it in the microwave for about 10-15 seconds. Be careful not to overheat it, or it might become dry. A quick zap is all you need!
Key Details
Here’s a quick rundown of what you need to know to make this Japanese Raspberry Cake a success:
- Prep time: About 20 minutes
- Cook time: 30-35 minutes
- Servings: 8-10 slices
- Equipment you’ll need:
- 9×13 inch baking pan
- Mixing bowls
- Whisk
- Spatula or spoon
- Wire rack (optional, but recommended)
- Oven
I hope you love making and enjoying this Japanese Raspberry Cake as much as I do! Happy baking!
Japanese Raspberry Cake
Ingredients
- 2 cups all-purpose flour
- 1 ½ cups granulated sugar
- 3 teaspoons baking powder
- ½ teaspoon salt
- ¾ cup milk
- ½ cup vegetable oil
- 2 large eggs
- 1 teaspoon vanilla extract
- 1 ½ cups fresh raspberries
Instructions
- Preheat your oven to 350°F (175°C). Grease a 9x13 inch baking pan.
- In a large bowl, whisk together the flour, sugar, baking powder, and salt.
- In a separate bowl, mix together the milk, vegetable oil, eggs, and vanilla extract.
- Pour the wet ingredients into the bowl with the dry ingredients. Gently stir until just combined.
- Gently fold in the fresh raspberries.
- Pour the batter into your prepared baking pan and spread it out evenly.
- Bake in the preheated oven for 30-35 minutes, or until a toothpick inserted into the center comes out clean.
- Let the cake cool in the pan for 10-15 minutes before transferring to a wire rack to cool completely.